Crusades: dungeon generation & structure
A Crusade is one dungeon run. It is the entire roguelite half of the game, and almost every decision inside one is a resource transaction with the hub above. This page covers how a Crusade is composed, from the four-land macro structure down to room generation and what carries vs. resets between attempts.
Sub-page split note: the mid-run DAG map and node icons are detailed on their own page, Dungeon map. The implementation-level technical analysis (room prefab schema, stitcher algorithm, seam-hiding tricks, evidence from patch notes, aimed at devs building their own dungeon-crawler) lives on a separate page, Crusades: technical implementation. This page covers everything around the map: lands, biomes, room library, entry roll, end states, and the wire-up to the hub.
Macro structure: four Lands, four Bishops
The Old Faith is split across four Lands, each governed by a fallen Bishop and gated by your cult's recruited-follower count:
| Land | Bishop | Aesthetic | Iconic resource | Order |
|---|---|---|---|---|
| Darkwood | Leshy (youngest) | Summer forest, dappled light | Camellia, Berries | Required first |
| Anura | Heket | Autumn wetlands, fungal | Menticide Mushrooms, Pumpkins | Second |
| Anchordeep | Kallamar | Underwater caverns, bioluminescent | Crystal Shards, Cauliflowers | Third |
| Silk Cradle | Shamura (eldest) | Twilight caves, web | Spider Silk, Beetroots | Final |
Each Land is a short campaign within the campaign: a sequence of regular Crusades that each end at a mini-boss / Witness (yielding a recruitable follower), followed by a longer climactic Crusade that ends at the Bishop. Defeating the Bishop:
- triggers a story cutscene with The One Who Waits;
- releases the Bishop's surviving followers into your cult (a sudden population jump);
- drops a Red Crown fragment / Crown ability (a permanent dungeon power);
- drops a Holy Talisman fragment (assemble four → unlocks Fleeces and Crown perks).
Gating is per-Land follower count, not per-Land items or keys; the cult-management loop directly throttles when you can advance the story. This is the most explicit single point where the hub gates the dungeon.
Bounded-roguelite lens: at launch the credits roll after Shamura. There is no infinite escalation; the game has a clear end. The April 2023 Relics of the Old Faith update added a post-game story plus Purgatory (a fleece-modified gauntlet), expanding once data confirmed players wanted more. See
bounded-roguelite.
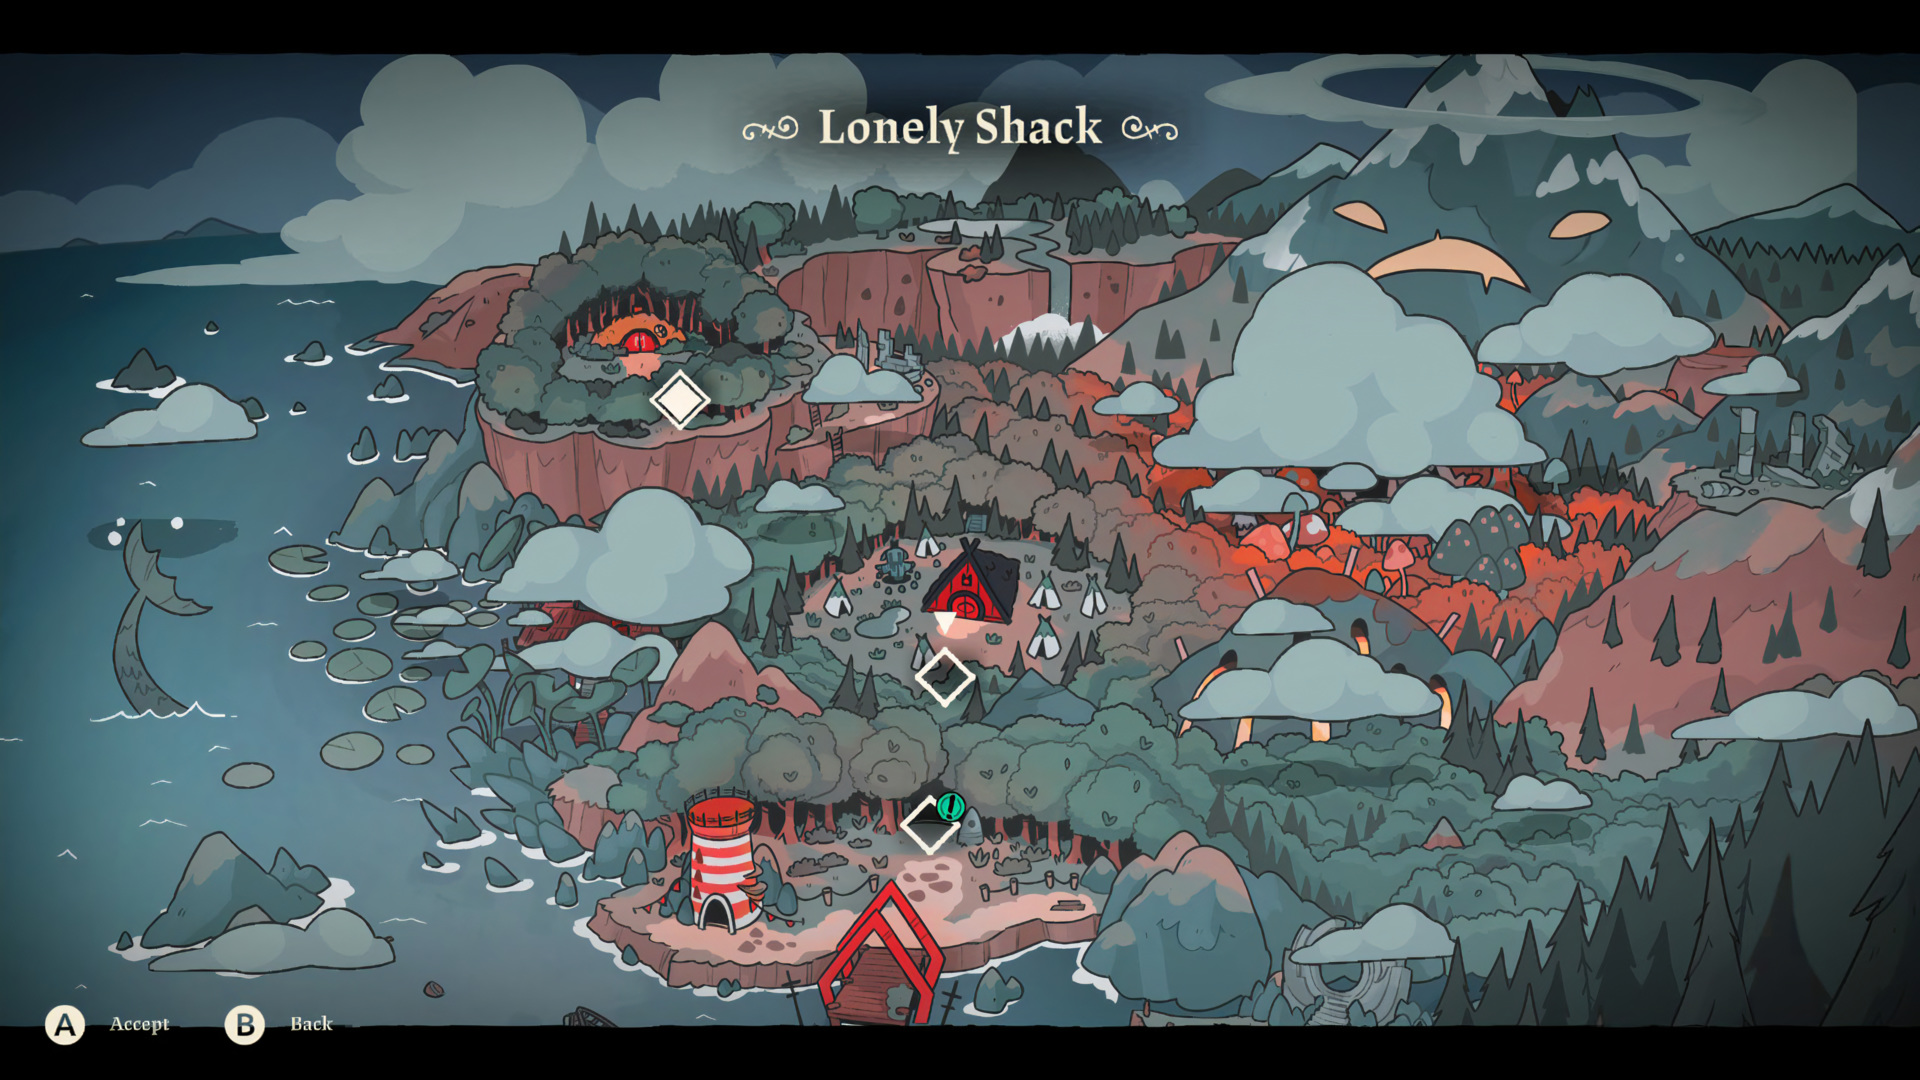 The overworld map. The cult ("Lonely Shack") sits at centre; the four Bishops' Lands and side locations (Pilgrim's Passage, Spore Grotto, Crimson Keep, Lighthouse) ring it. You travel out from the cult to start a Crusade and back to it on completion or death. Source: Game UI Database.
Inside a Crusade: the room-to-room dungeon
Within a Crusade, you cross multiple short mini-dungeons of 4–8 rooms each, separated by the DAG map screen where you pick the next node. Massive Monster art director Jay Armstrong:
"It's very much like a Binding of Isaac style, room-to-room, dungeon structure that's procedurally generated."
The construction style is the same as Isaac's: a pool of hand-authored room templates for each biome, shuffled and stitched into a per-Crusade layout. The DAG map sits above that pool, picking which kind of room each node will instantiate (combat / tarot / shop / etc.); the room library then picks the specific layout for that type.
So the generation is two-layered:
Crusade
└── DAG of nodes  ──── procedural at the run level
     └── each node = "spawn a room of type X for biome Y"
          └── pick from biome-Y / type-X room library  ──── handcrafted templates
               └── populate with biome-Y enemy mix
The DAG layer is where most of the interesting per-run variation lives. The room library is where most of the feel lives. The rooms are short enough that any single one barely matters, but the cumulative shape of "five combat rooms in a row" vs "one combat, two tarot, one shop, one boss" is what makes a run feel distinct.
This puts Cult of the Lamb in the same family as Spire, Hades, Sparklite, Warframe: see handcrafted-pcg-hybrid.
Entry room: the weapon + curse roll
Every Crusade begins in the same kind of room: a small arena that hands you the run's starting weapon and curse. These are drawn from your unlocked pool (the weapons/curses you've previously seen), with a rarity roll that can stack affixes (poison, ice, bleed, etc.).
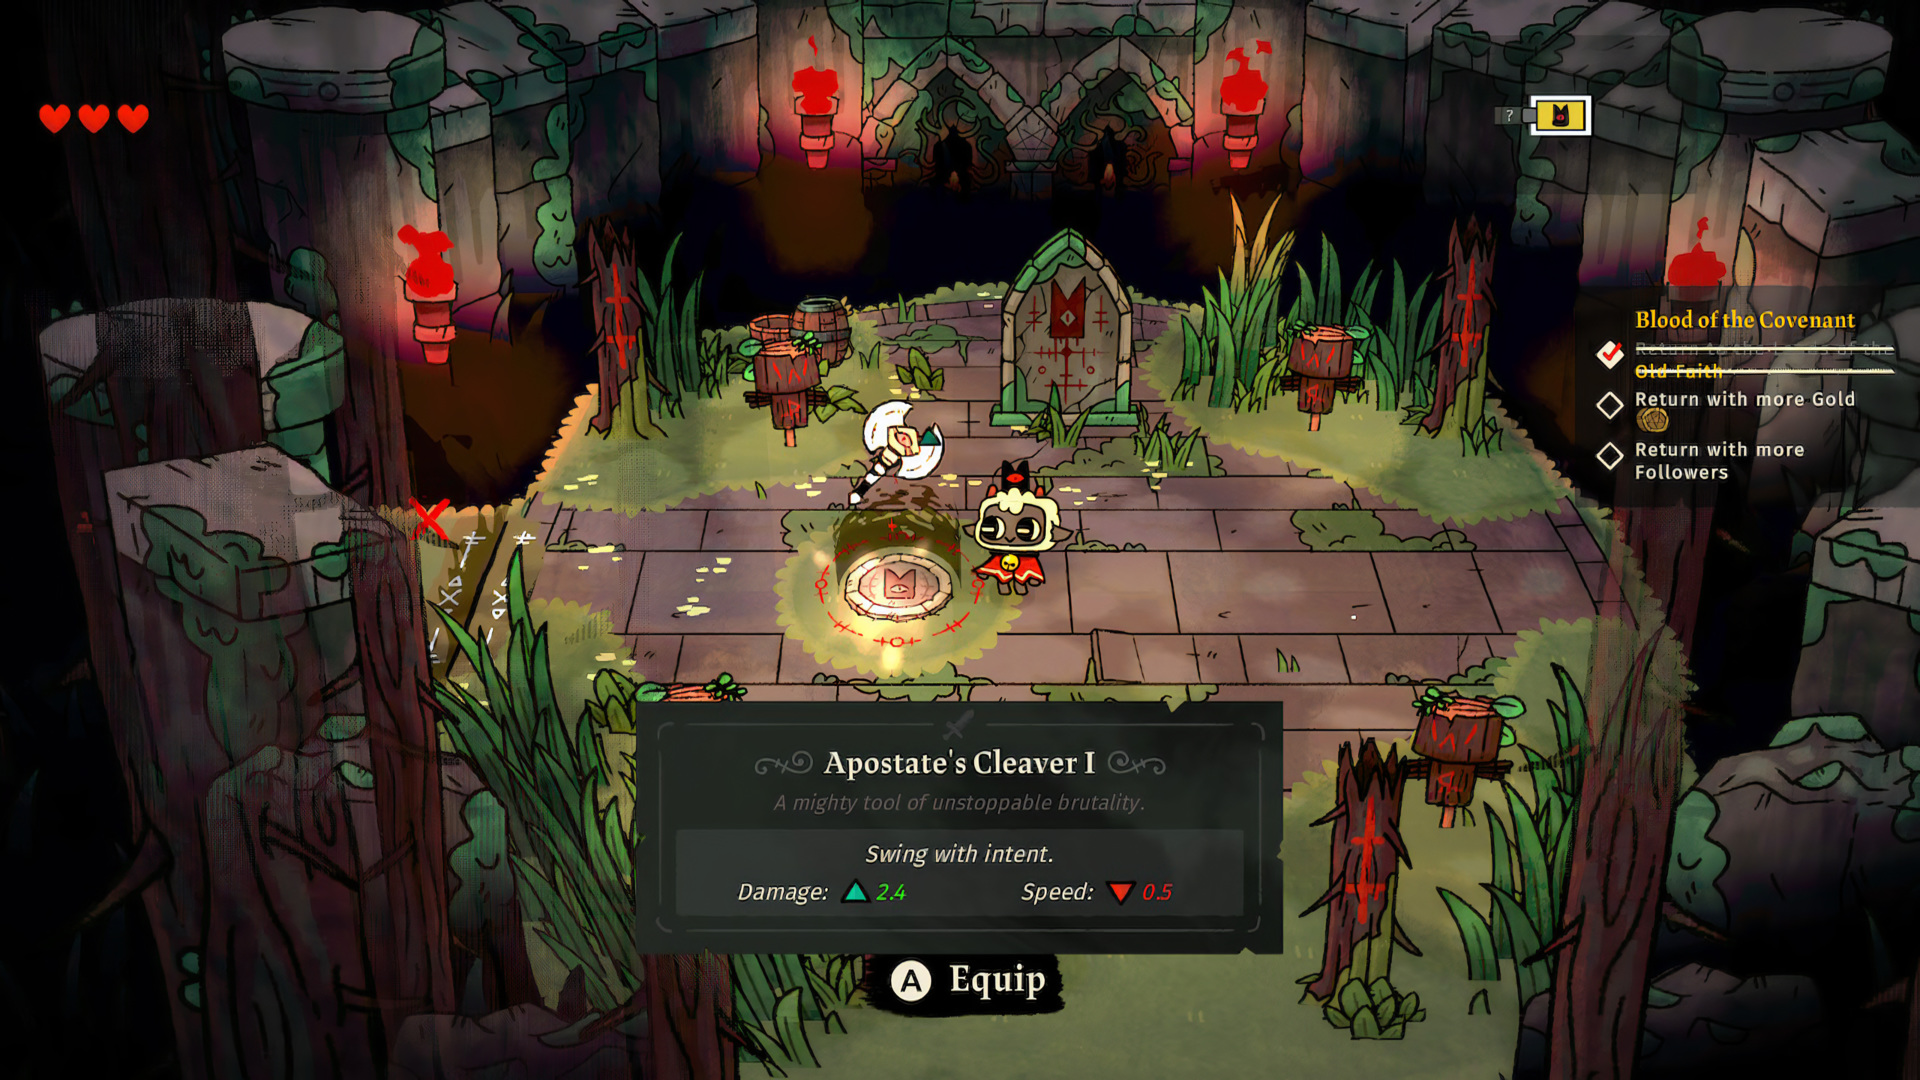 Mid-Crusade weapon swap: "Apostate's Cleaver I: A mighty tool of unstoppable brutality. Swing with intent. Damage ▲ 2.4 / Speed ▼ 0.5." Every weapon swap is a direct DPS-vs-cadence trade, a clean
 bonus-with-drawback instance. Pinned right is the "Blood of the Covenant" objective list, the return conditions that compound rewards on success. Source: Game UI Database.
What this entry-roll commits you to:
- Weapon type (Sword, Axe, Dagger, Gauntlet, Hammer, Blunderbuss, Flail; the last two added by post-launch updates). Each has a light combo + a unique heavy attack added in the Relics of the Old Faith update.
- Curse: a ranged spell that costs Fervour (mana). You can only equip one at a time.
- A fixed-but-mutable run identity. You can swap weapons at later weapon-offer rooms inside the Crusade, but you can't carry two; the swap is always destructive.
This is the entry point to the run's risk/reward profile. A Hammer + slow projectile curse is a different game than a Dagger + homing curse, and the first room sets the tone before you've made any other choice.
Per-room composition
Each non-special room is a combat encounter: a fixed arena geometry, doors locked until clear, enemy mix appropriate to the biome and the Lamb's progress through that Crusade. After clear, the room drops:
- the room's type-specific reward (chest content, a Tarot pick, a follower, a resource pile, etc.);
- a small Bone pile from the enemies' corpses (the currency of Rituals);
- often a Heart or Fervour orb refill.
The fixed-geometry-per-template approach means combat is about adapting to the room you got, not navigating its layout. You learn the ~50–80 templates over time, in roughly the same way Isaac players learn rooms. Inside any one biome's pool, mob mixes vary but the floor tiles, prop placement, and door positions are pre-authored.
Uncertainty flag: sources don't confirm whether individual room interiors are themselves further procedurally varied (mob count rolls, prop swaps). Going by play and review descriptions, the dominant pattern is whole-room shuffle from a curated library, not tile-level recomposition. If you've datamined this and have better data, please correct.
Biome variation: what swaps per Land
A new biome doesn't just re-skin the rooms; it swaps:
- Enemy roster: Darkwood ferals → Anuran amphibians → Anchordeep cephalopods → Silk Cradle spider-mounted cultists. Each roster has its own combat answer: Darkwood teaches dodging, Anura introduces ranged spit attacks, Anchordeep adds water tiles that block dashes, Silk Cradle adds web-sticky terrain.
- Hazards & props: pumpkin patches in Anura, web on the floor in Silk Cradle, water in Anchordeep, brambles in Darkwood. These read as decoration but several are actual mechanical traps.
- Gatherable resources: biome-specific plants and crafting mats that the hub recipes require. This is the wire-up: if you need Crystal Shards for a building, you must run Anchordeep, even if the Bishop fight isn't your goal.
- Aesthetic palette + music: composer River Boy switches motifs per biome; the visual contrast keeps the room library feeling distinct even when the room shapes are similar.
The biome stitch is what keeps the dungeon side replayable even though the underlying generator is modest. By the time you're sick of Darkwood combat, the game has pushed you toward Anura's mushrooms.
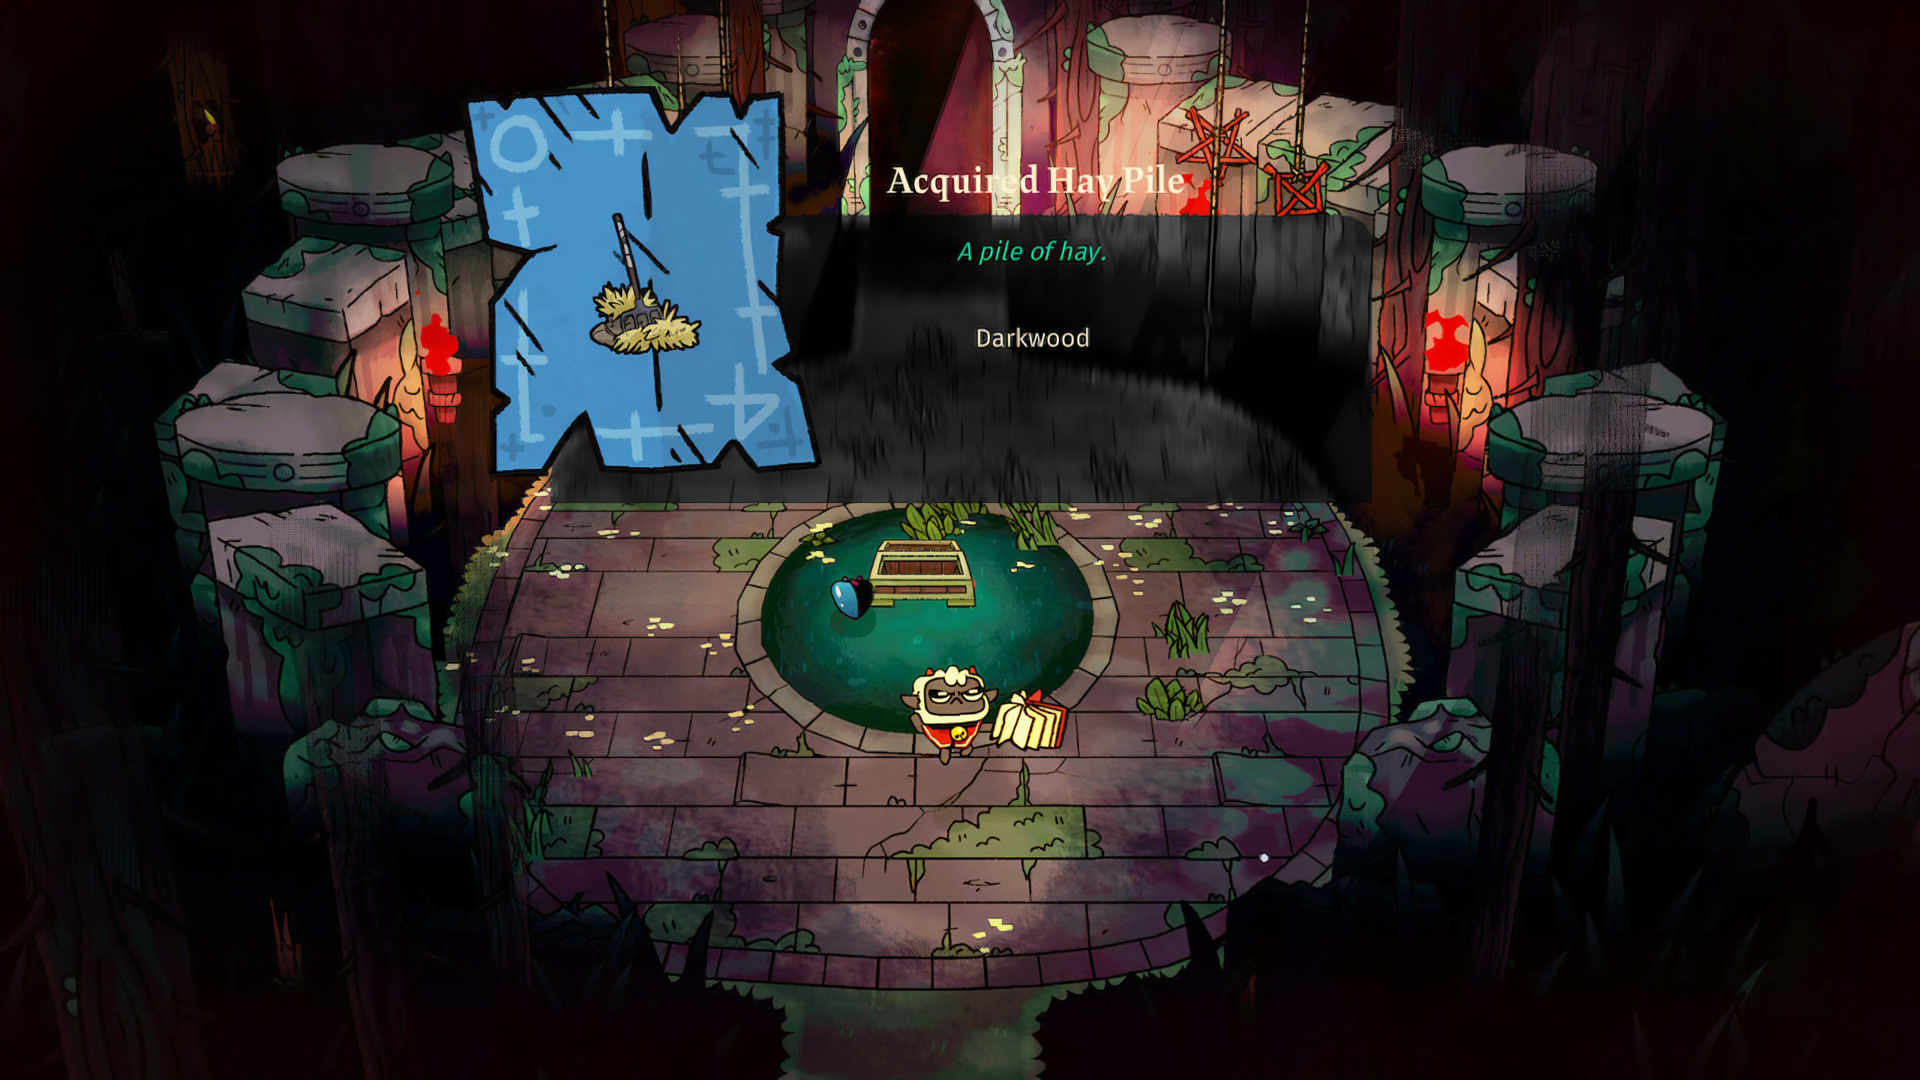 A Crusade chest reward. The banner overlay ("Acquired Hay Pile: A pile of hay, Darkwood") is the game's micro-feedback hit: every pickup, however small, is biome-labelled, reinforcing that this is Darkwood's hay that will become the cult's hay. Source: Game UI Database.
End states: return or martyr
A Crusade can end three ways:
- Complete the goal: clear the final room (mini-boss or Bishop), step into the exit portal, return with your full haul. Mini-boss yields a recruitable follower; Bishop yields the act payoffs above.
- Escape early: most Lands have a portal in some chests / event rooms that returns you to the hub immediately. You keep what you have; you skip the rest of the planned run. This is the game's pressure valve when the hub clock is screaming.
- Death ("Martyred!"): you lose 25% of new (this-run) items and a chunk of run-state, but you keep most of the haul and you keep all persistent unlocks. You appear at the hub already chastened by absent followers.
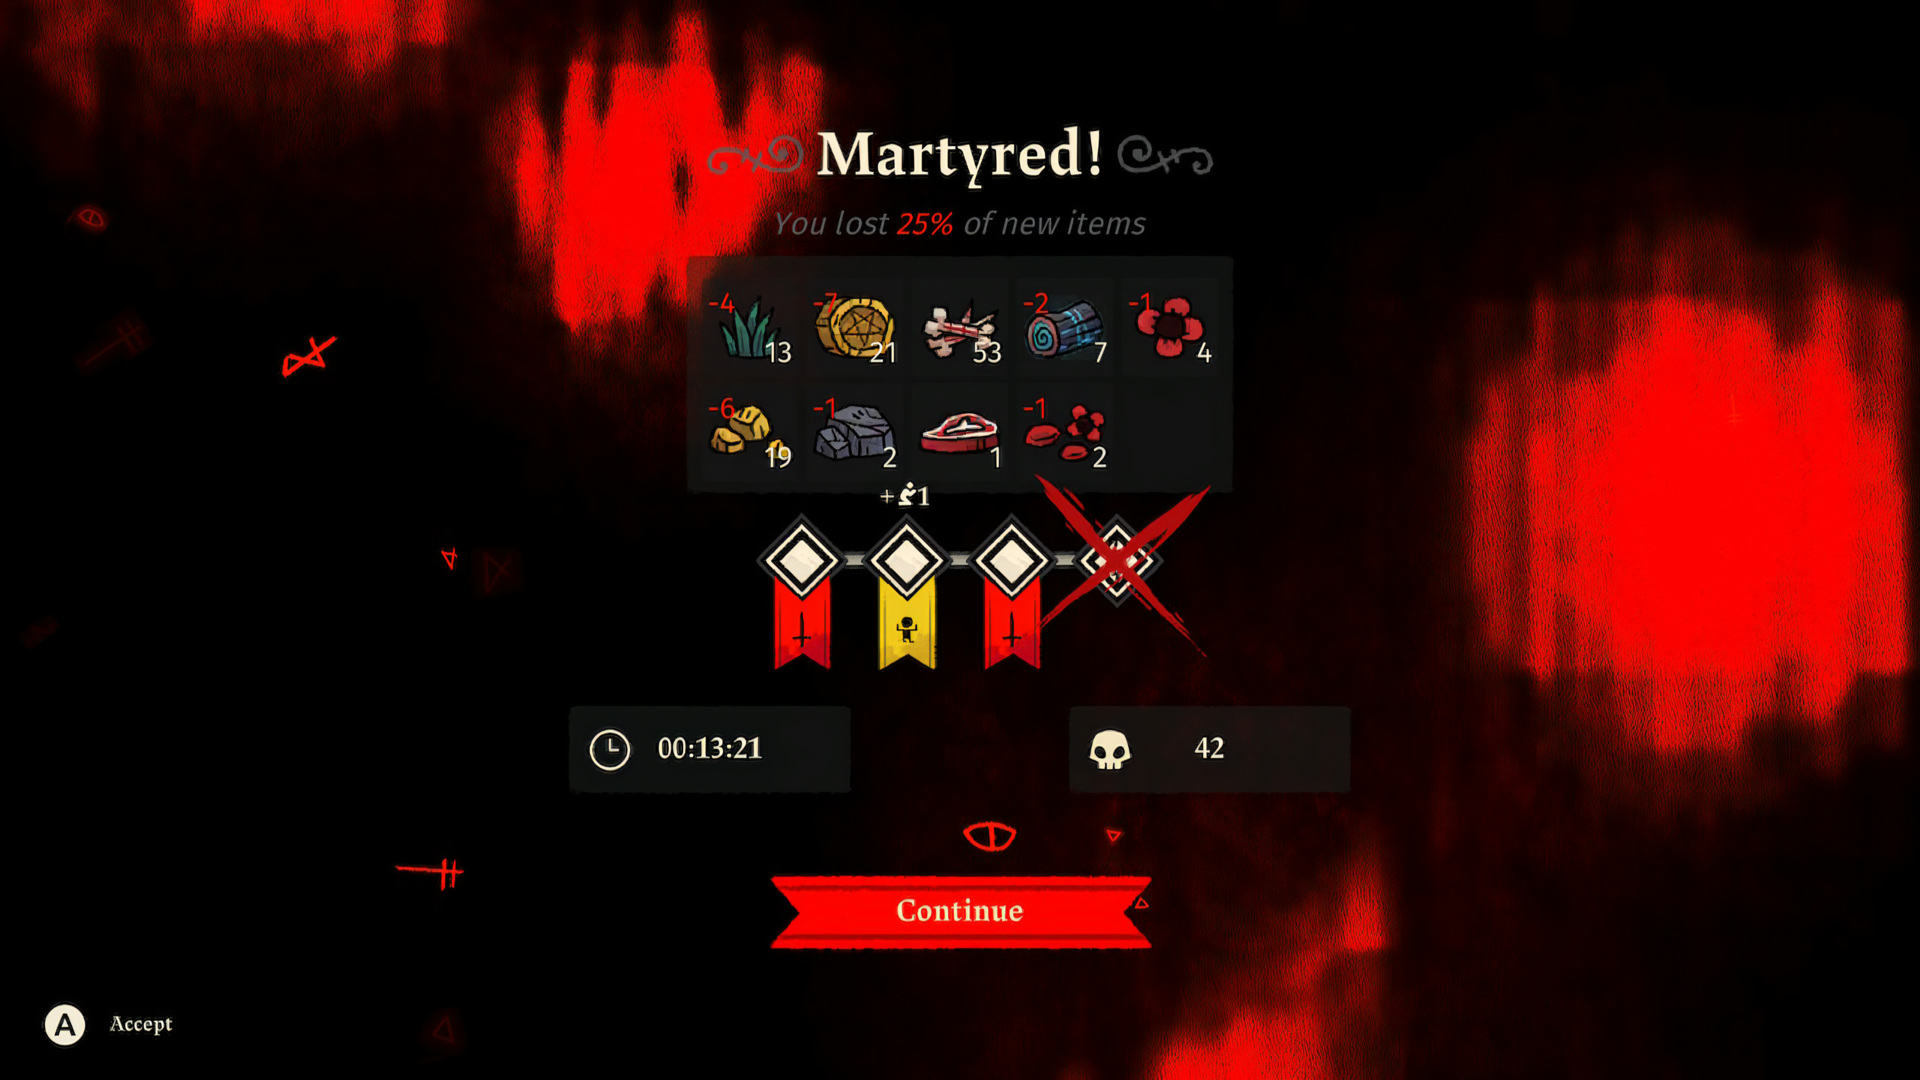 The Martyred screen. Note the lossy-but-not-zero nature: 7 lumber, 4 berries, 6 gold, 1 stone, 2 follower meat etc. erased, but the rest survives. The three banners record your progress through this Crusade's mini-dungeons (▮▮✕). 13:21 in-Crusade timer; 42 enemy kills. Source: Game UI Database.
This loss curve is one of Cult of the Lamb's most forgiving roguelite-bending choices: contrast Hades (lose all gold/keys, keep darkness/gemstones), Spire (lose everything but unlocks), Dead Cells (lose everything). Massive Monster's bet is that hub friction is the real time-tax; they don't want death to also feel like running back from the beginning. Julian Wilton:
"I actually suck at games so… we want everyone be able to play through it and have a good time."
The cost of "Martyred!" is mostly narrative: you abandoned your cult by failing, and now you have to sermon the survivors back into faith.
What carries between runs vs. what resets
This is the core ledger:
| Resets each Crusade | Persists across runs |
|---|---|
| Active weapon and curse | Unlocked weapon / curse / Tarot / Fleece / Relic pools |
| Tarot card hand (the in-run deck) | All Heart Containers / Max Fervour upgrades |
| Hearts / Fervour pool (to base) | Sermon-tree upgrades (reroll weapon, extra Tarot slot, etc.) |
| Active Relic slot | Doctrines (cult-wide permanent forks) |
| In-run gold (default; one relic preserves) | Buildings, followers, resources at the hub |
| Run timer, kill count | Lamb's Crown (slots for equipped Tarot, Fleece choice) |
| 25% of new run-items (if you died) | The accumulated quest list, Knucklebones progress, etc. |
The pattern across the right column: anything that affects future runs unlocks; anything that's a single-run loadout decision is a fresh draw. This is closest to Hades' philosophy (Mirror is permanent, boon hand is temporary). What makes CotL different is that the hub itself is a third persistent layer that neither game-resets nor in-run-resets. It just keeps running.
How dungeon loot resolves to the hub
The single design choice that gives Crusades their weight is that almost every drop has a named downstream lever in the hub:
| Dungeon drop | Hub use |
|---|---|
| Lumber, Stone | Construction (Divine Inspiration tree) |
| Bones | Rituals (Sermon, Wedding, Funeral, Sacrifice, Brainwashing, Resurrection…) |
| Gold | Shops, Tarot purchases at Clauneck's tent, Knucklebones bets |
| Berries / Pumpkins / Crystal Shards / Spider Silk | Biome-specific recipes & decorations |
| Rescued / recruited follower | New cultist → labour pool + Faith generator |
| Doctrine Stones (Bishop & mini-boss drops) | Unlock a new Doctrine slot (permanent fork) |
| Divine Inspiration (light beams in hub + drops) | Next tech-tree node |
| Holy Talisman fragments (Bishop drops) | Crown perks, Fleeces |
| Tarot Cards (codex unlocks) | Wider future-run draw pool |
| Weapon / Curse / Relic templates | Unlocked pool for future entry rolls |
There is no generic XP. Every single line above is a named unlock category with a named hub building or system. The contrast with the genre-default "XP + currency + currency2" abstraction is sharp, and is most of why Cult of the Lamb's loot feels heavy. Pickup texture aside, you can always say what specifically a drop is for. See Bishops & progression for the full wire-up.
Patterns this exemplifies
handcrafted-pcg-hybrid: pre-authored room templates shuffled per Crusade (Isaac lineage), with the DAG layer adding higher-order procedural shape.branching-dag-map: covered in detail on Dungeon map.bounded-roguelite: credits roll after Shamura at launch; post-game added later. The arc itself is a lesson.bonus-with-drawback: weapon swaps with explicit Damage ▲ / Speed ▼ deltas; Fleeces; sacrifice doors (next page).